Before you begin
Check off what you have
Step 01
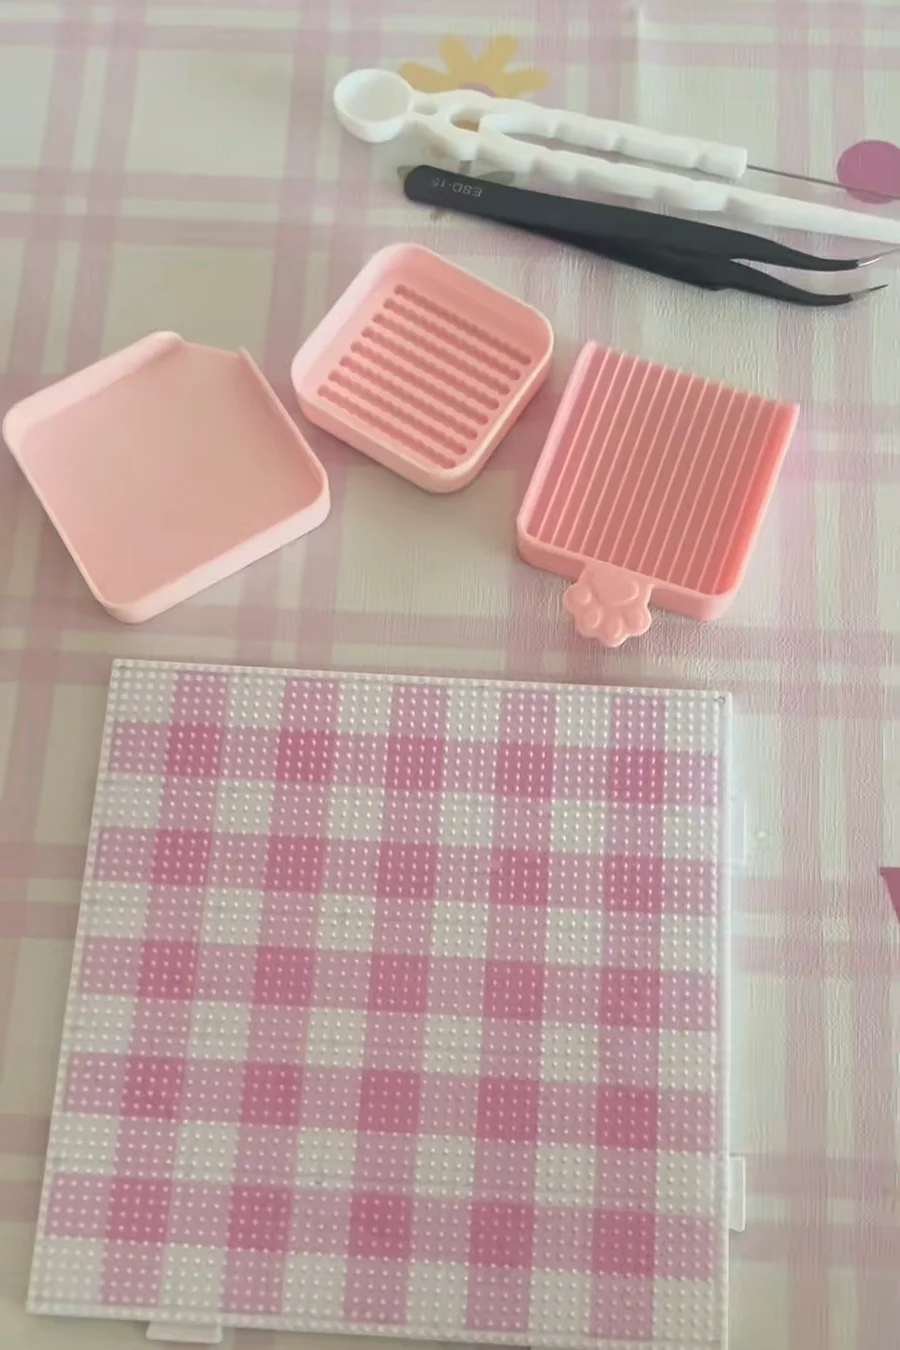
Gather a pegboard, beads, and a placement tool
Start with a pegboard, fuse beads, and tweezers you can control comfortably. A bead pen is optional. Choose a board and beads made for the same bead size, and leave enough pegs for the whole pattern. Work on a flat, stable surface so the board will not wobble as you place beads.
A little help. Keep one bead size throughout the project. Mini beads and standard-size beads need different pegboards.
Step 02
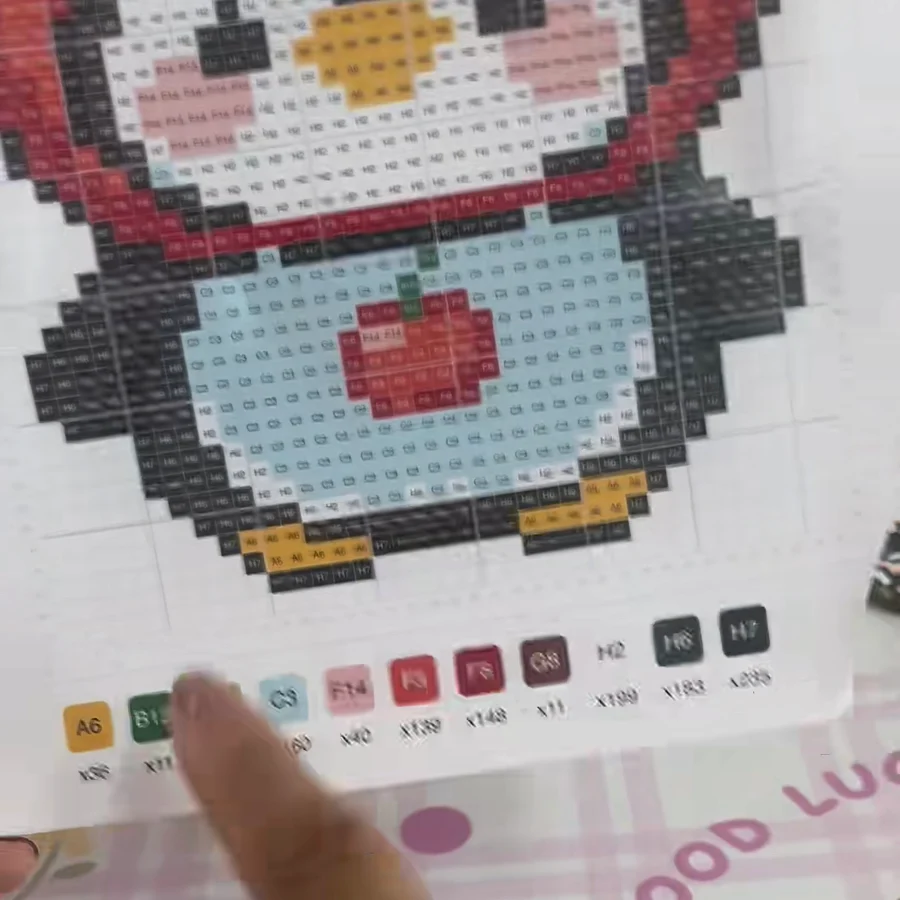
Read the grid and its color key
Choose a small chart with a clear grid and a limited palette. Each colored square represents one bead on one peg; blank background squares stay empty unless the chart says otherwise. Count the chart width and height before starting, and check the color key rather than guessing from the picture alone.
A little help. Follow the chart in the same orientation as your board. Zoom in on a phone or tablet, or print it large enough to count individual squares.
Step 03
Match the color codes and sort your beads
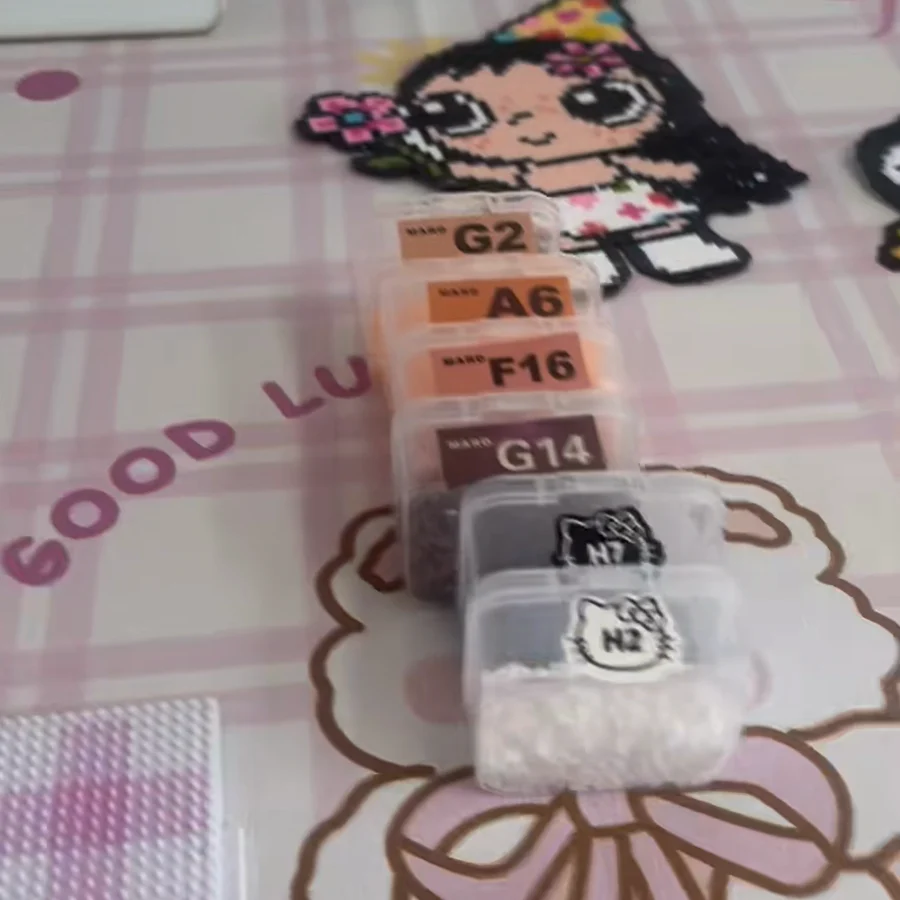
Use the chart legend to pull out every required color, then put each color in its own tray. If your chart includes quantities, check that you have enough before you begin. Keep the bag labels nearby so similar shades do not get mixed up halfway through the project.
A little help. Color codes are brand-specific. A code such as G2 is not a universal Perler color number; use the matching brand chart or choose a visual substitute.
Step 04
Build the outline with tweezers
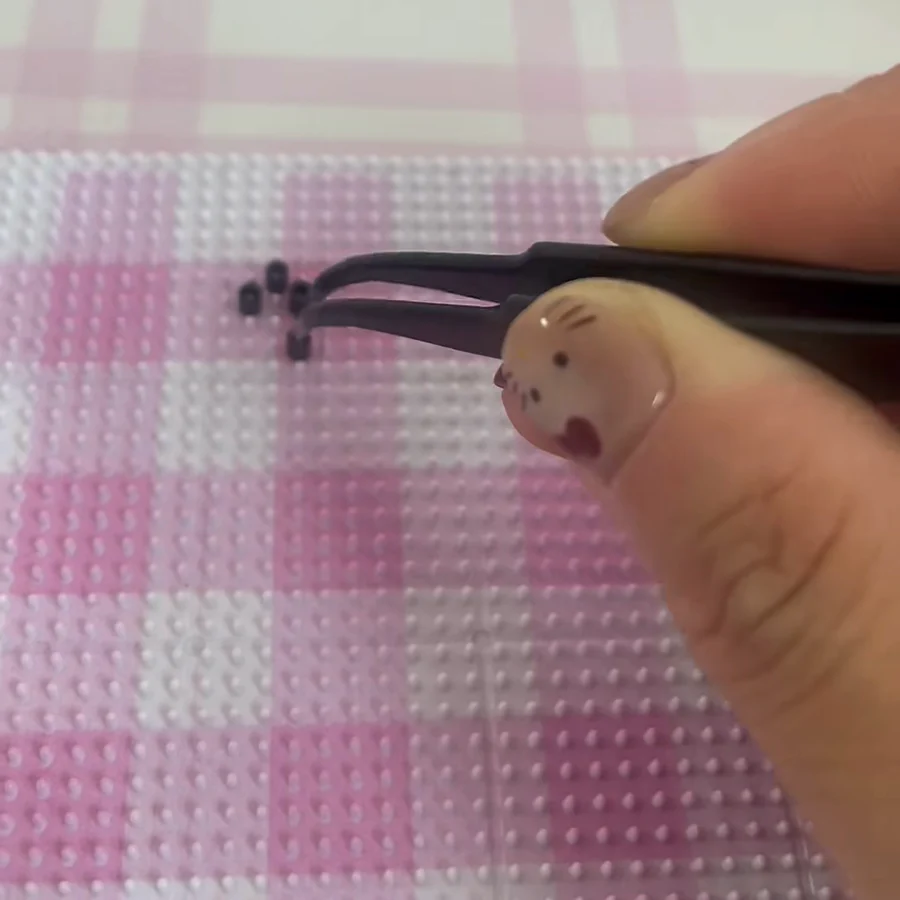
For a design with a strong outline, start with that outline to establish the shape. Count the empty pegs from a fixed reference point, then place one bead per peg with tweezers. Follow the chart through corners and gaps instead of connecting parts that are meant to stay separate. You can also work row by row if that is easier to track.
A little help. Check the first few rows before moving on. One missed peg can shift a whole section of the design.
Step 05
Prepare a bead pen for larger areas (optional)
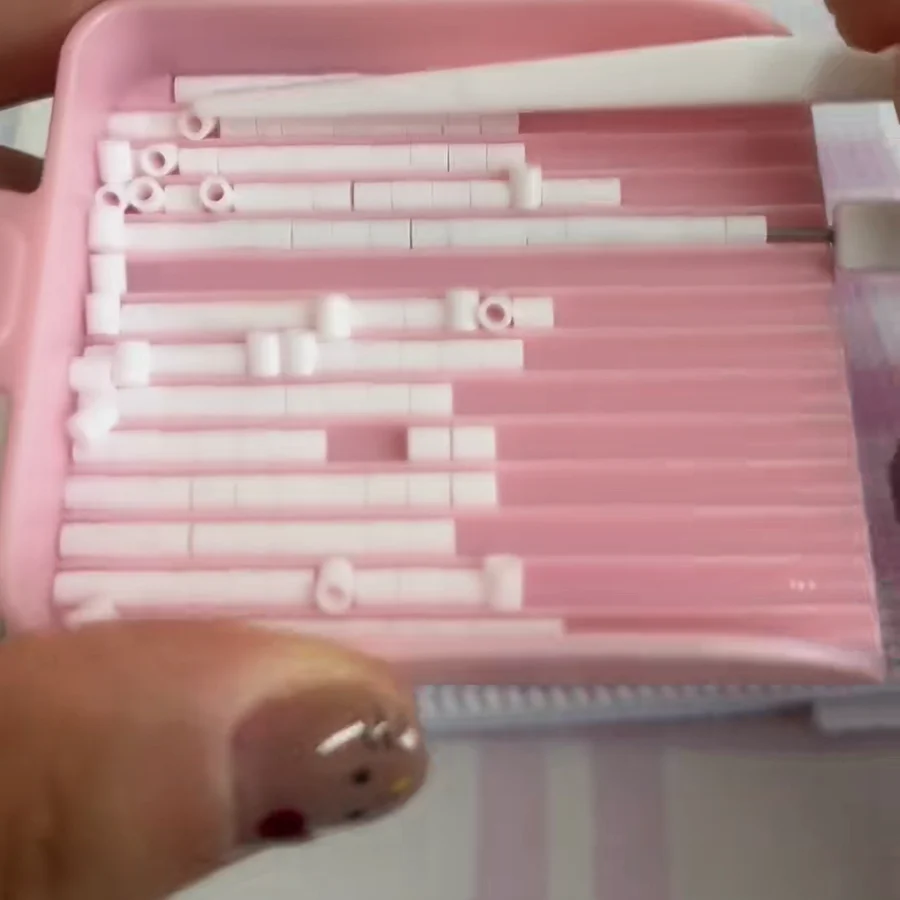
Tweezers are enough for the whole project, but a compatible bead pen can speed up large areas of one color. With the grooved tray shown here, gently shake a few beads into lines with their holes facing up, then load the pen according to its instructions. Test a bead on an empty part of the board before working near your outline.
A little help. Use one color at a time, and make sure the pen supports your bead size. Switch back to tweezers for tight corners and corrections.
Step 06
Fill the colors a section at a time
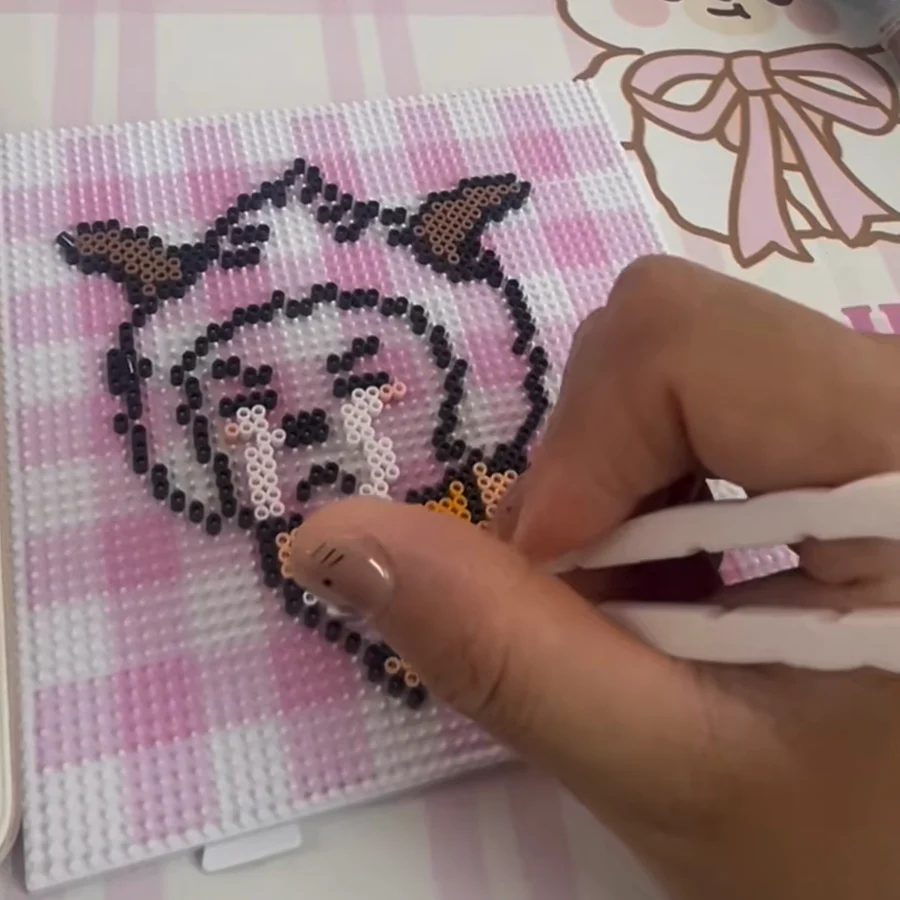
Fill one small section at a time, using the outline as a guide. Count the beads in each run and compare the result with the chart every few rows. Leave intentional gaps open, and pay special attention to eyes, highlights, and other single-bead details. Use tweezers to lift out a wrong bead without disturbing its neighbors.
A little help. Similar shades are easier to confuse on screen. Recheck the color key when you move to a new section.
Step 07
Check every detail before ironing
This is the easiest time to fix a mistake. Compare the board with the chart from top to bottom, checking the outer shape, color changes, and small details. Once beads have fused, you cannot simply swap one out.
- Every required peg has a bead, and intentional gaps are still empty.
- The outline and interior sections line up with the same rows on the chart.
- All beads sit upright and flat; none are loose on top of another bead.
Step 08
Fuse the beads and let the piece cool
Place the board on a flat, heat-safe surface and cover the design with the ironing paper recommended by your bead manufacturer. Have an adult fuse it using that manufacturer's heat setting and method. Keep the iron off the bare beads and pegboard, and check progress so the beads join without overheating the board.
Let the design cool as directed before lifting it off the pegs. If your bead maker recommends fusing the second side, follow those instructions too. There is no single ironing time for every project: bead size, brand, iron, and the finish you want all affect the result.
Ready for your first pattern?
Start small, keep the palette simple, and pick something you actually want to make.