Upload your image
Drop in a photo, logo, drawing, or piece of pixel art. Clean shapes and strong contrast convert best, but you can refine anything after the first pass.
Upload a photo or drawing, turn it into a Perler bead pattern, review pegboard count and bead color breakdown, and export a printable PDF after editing.

Your image
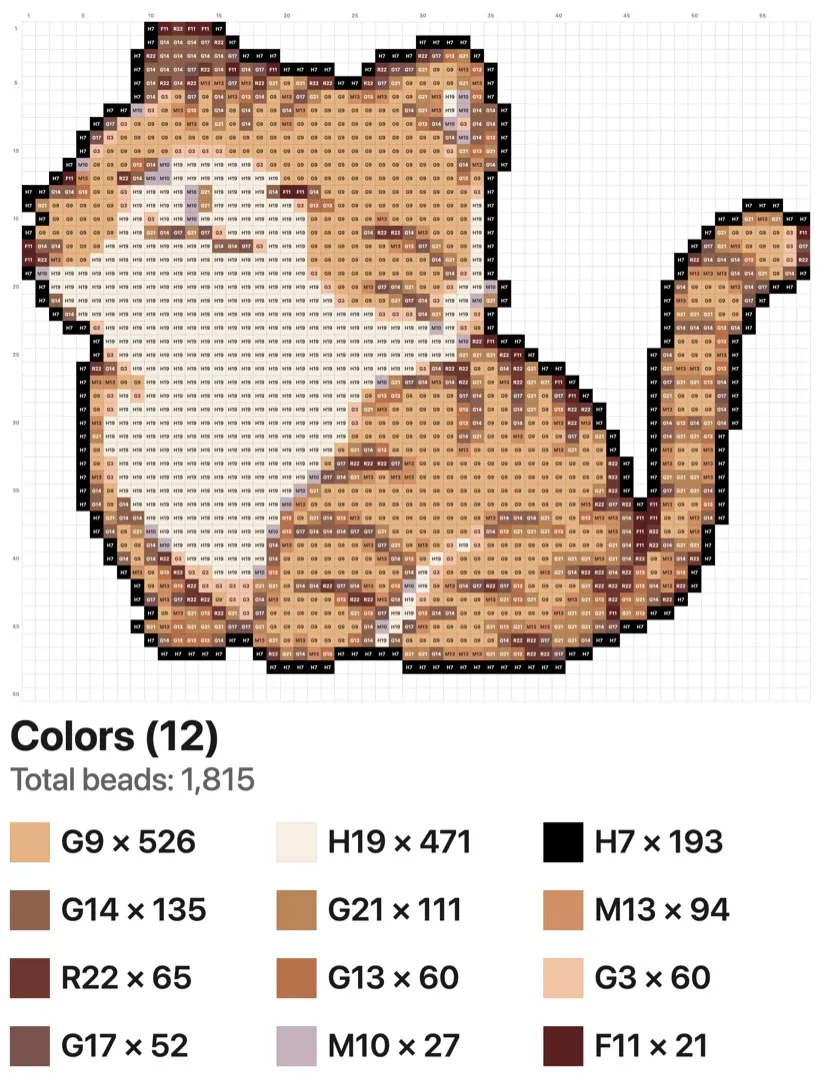
The converter
Upload, choose a color limit, keep Auto or set an exact bead width, then review the source image and generated bead pattern below.
Maximum color count
Color simplification
Merges near-identical shades into one bead so the pattern has fewer, cleaner colors.
Your pattern preview will appear here
Upload an image and the pattern will generate automatically.
For the best results
The converter does the heavy lifting, but a couple of settings decide how close the first pass lands. Here is what to reach for depending on what you are turning into beads.
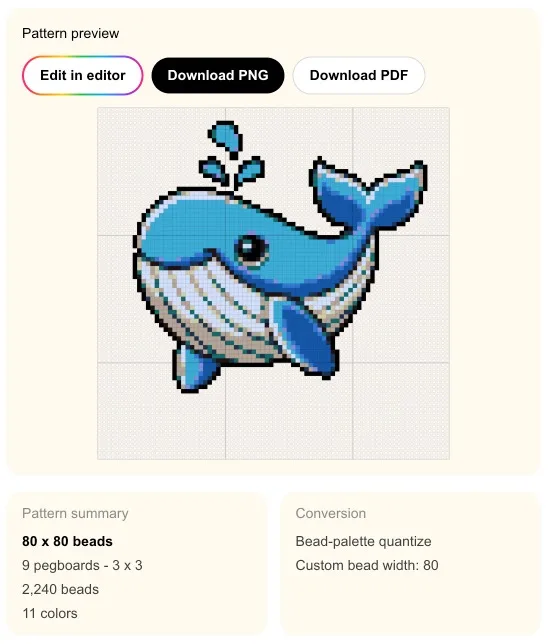

The sweet spot
A bold subject on a light or transparent background is where the converter shines. Clear shapes, only a few colors to juggle — every bead lands on what matters, and it looks great straight out of the box on the default settings. If you can start here, start here.
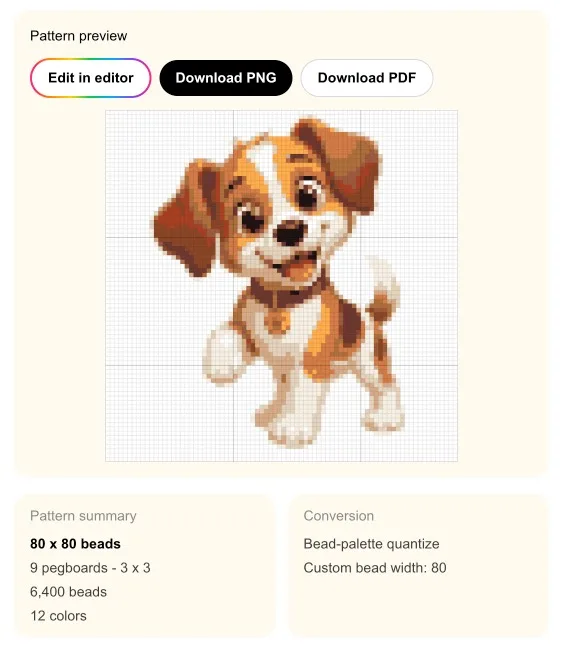
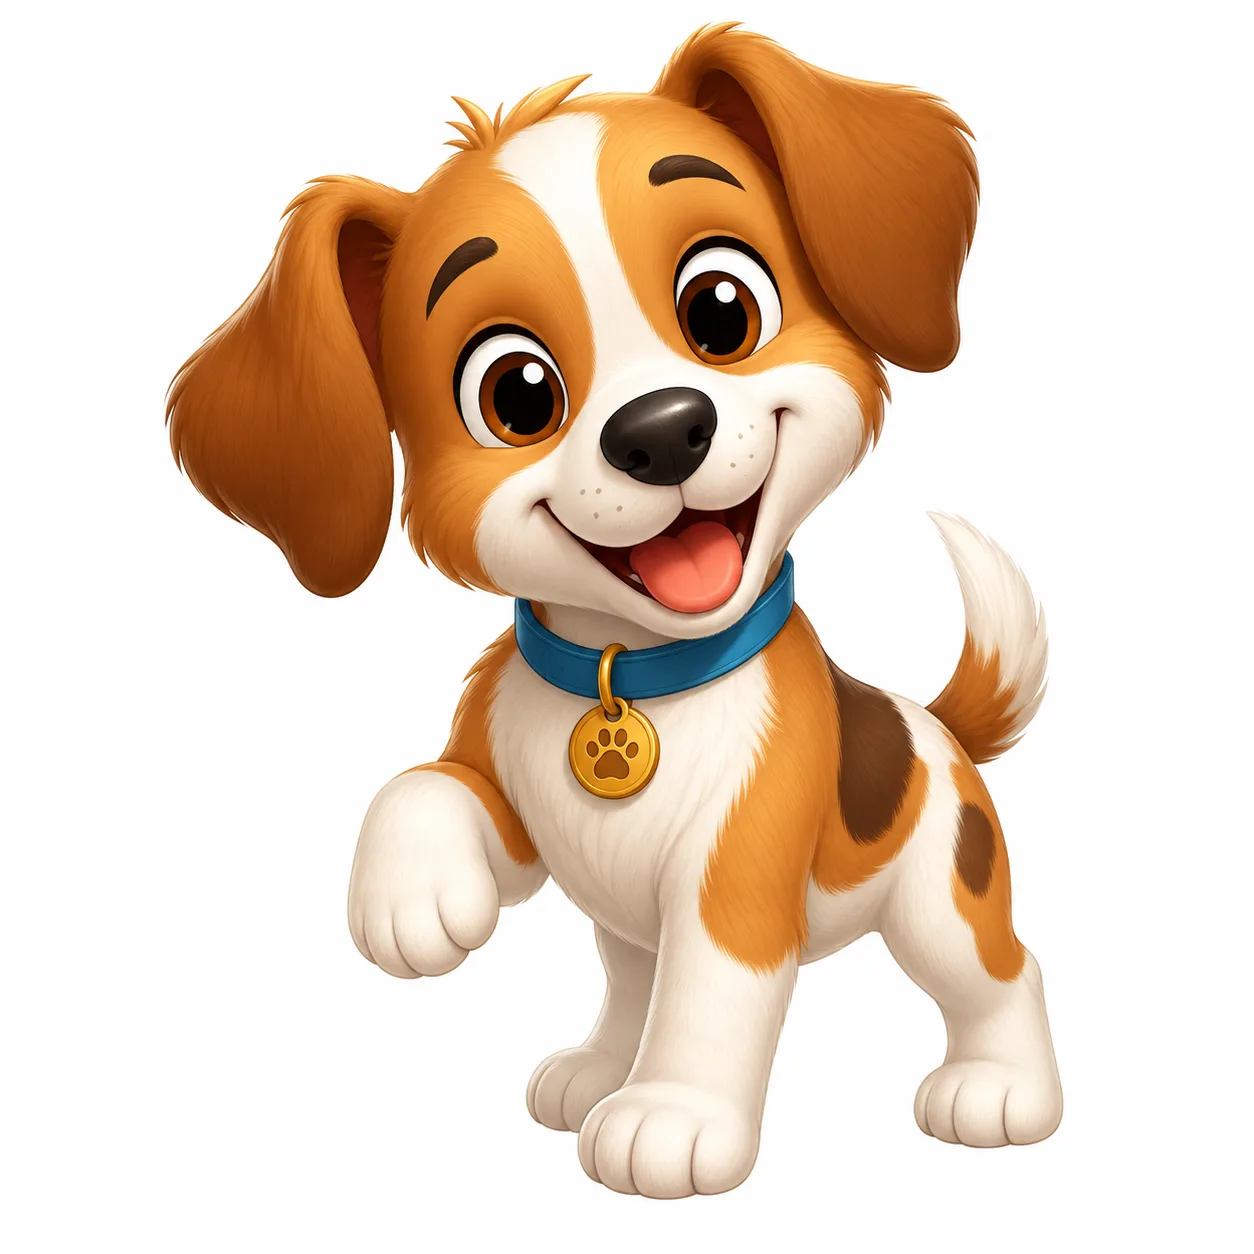
Detailed & 3D art
Renders with soft shading, gradients, or a 3D feel carry a lot of subtle color. To do them justice, push the bead width up and raise the color count to 16 so the shading has enough beads and shades to land on. A little tuning here is the difference between a muddy blob and something that genuinely reads.
Keep the background
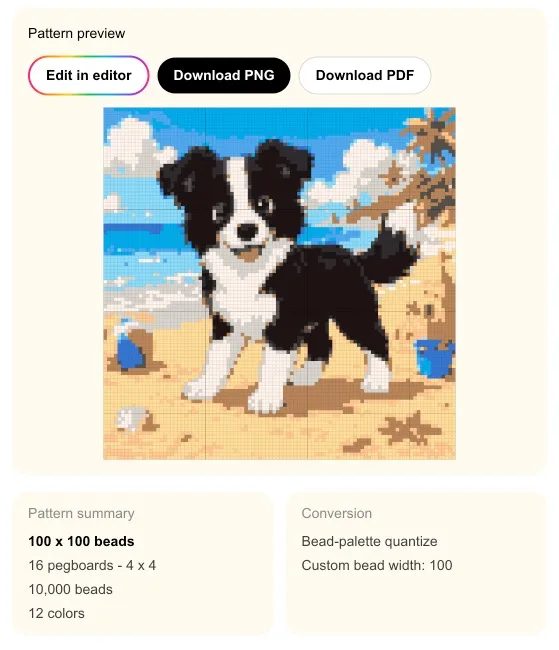
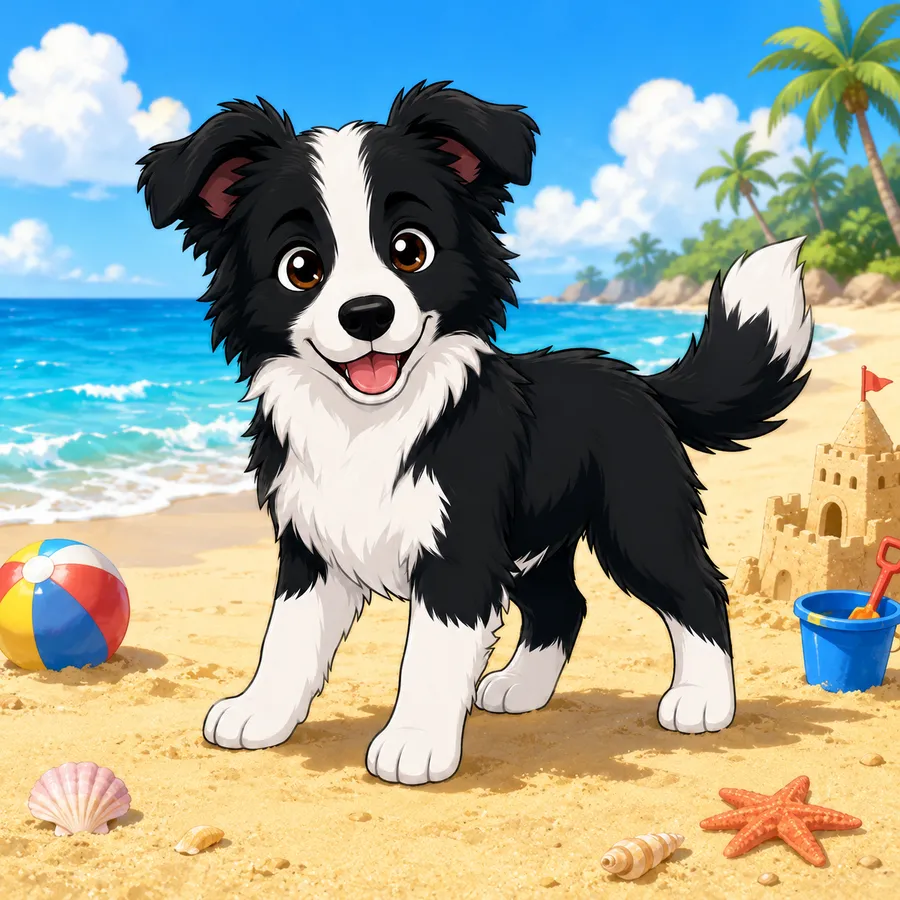
Prefer the backdrop and all? Turn off Remove background so the surroundings stay in, and push the bead width up — a full scene needs more beads to hold both the subject and its background without turning to mush. Just as important, set Color simplification to Keep shades: the sky, sea, and sand are full of soft gradients, and merging them away would flatten the whole picture. Leave Dark outline off too, so the figure isn't forced into a hard black silhouette against the scene.
Make it yours
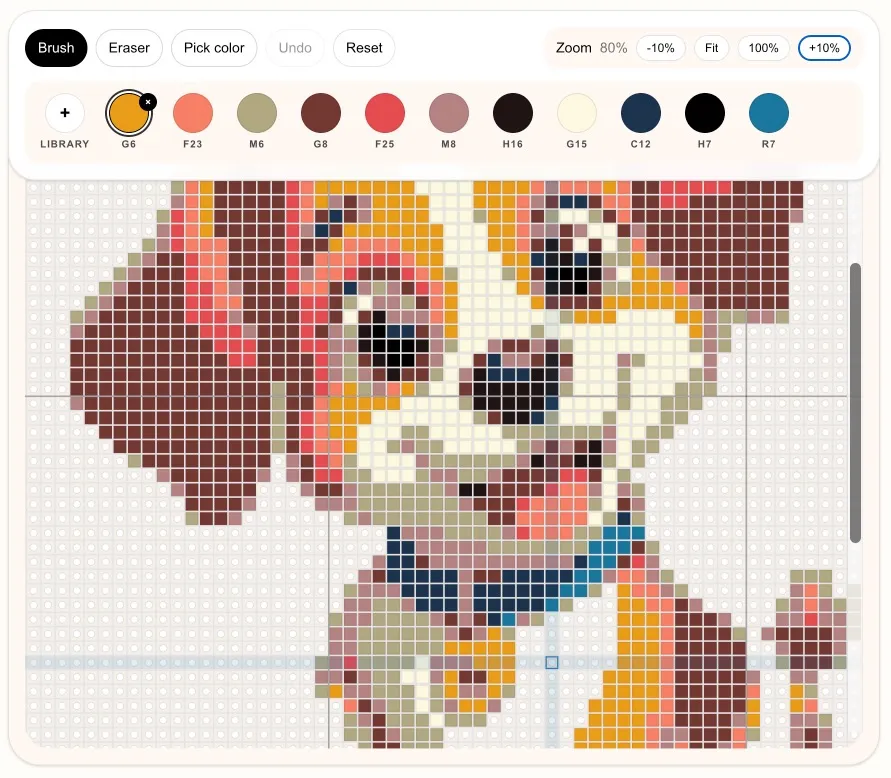
No converter nails every image — and you don't have to settle. Open any result in our editor and fix it by hand: repaint stray beads, tidy up an outline, swap a color across the whole grid. It's fast, fluid, and honestly fun to use — the last mile from “close” to exactly what you pictured.
Open the editorOne more thing
Made something you love, or hit an image that just would not cooperate? We read every note and it genuinely shapes what we build next. Send your thoughts, ideas, or gripes to hi@perlerbeadpatterns.org.
How it works
Drop in a photo, logo, drawing, or piece of pixel art. Clean shapes and strong contrast convert best, but you can refine anything after the first pass.
The converter maps your image onto a pegboard grid, snaps every pixel to the closest bead color, and shows a live preview you can adjust.
Tune the grid size, limit the number of colors, and hand-edit individual beads in the editor until the pattern reads clearly at bead scale.
Check the bead count and color key, then export a printable PDF chart to follow bead by bead — or keep the design in the editor for later.
What you can control
Most image-to-bead tools give you a single automatic output. This one keeps you in control of size, colors, and every individual bead, so the result matches the beads you own and the look you want.
Pick how many bead colors the pattern may use. Fewer colors read cleaner and are easier to source; raise it to 16 only when the subject needs the extra shades.
Leave width on Auto for a recommended size that keeps detail readable, or switch to Custom and type an exact bead width to hit a specific finished size or pegboard count.
Toggle this to clear a solid background connected to the edges so it is not counted as beads — works best when your image already sits on a plain backdrop. Turn it off to keep the background.
Choose Keep shades, Balanced, or Bold to merge near-duplicate colors into the more vivid one, and switch on Dark outline to trace the silhouette in the darkest bead so edges stay crisp.
Settings guide
Use these as first-pass settings, then adjust after you see the preview. A bead pattern maker works best when you iterate instead of locking the first result.
Faces need more beads than character art; otherwise eyes and expressions blur together. Keep more shades at first, then clean up noisy skin pixels by hand.
These already fit a grid, so the goal is to preserve the outline and avoid extra near-duplicate colors from the automatic pass.
Readability matters more than shading. Use fewer colors and sharp edges, then check that the text or symbol still reads once it becomes beads.
Start with fewer beads, fewer colors, and a clear silhouette so the project is easier to finish. If a photo is too detailed, switch to simpler artwork.
Tips
FAQ
Upload your image, and the converter maps it onto a pegboard grid and matches each pixel to the nearest bead color. From there you set the width, limit the colors, edit any beads by hand, and export a printable PDF chart to follow while you craft.
High-contrast images with simple, bold shapes convert best. Logos, pixel art, icons, and clear character art usually look great, while busy photos with fine detail lose definition once they are reduced to a bead grid.
Yes. You control the grid width in beads to set the finished size, and you can cap the number of colors so the pattern only uses shades you own. Both update the live preview and the bead count.
Every bead stays editable after conversion. Open the result in the editor to fix outlines, remove stray beads, and touch up details before you print, so the converter is a starting point rather than a fixed output.
Yes. You can upload an image, convert it, refine the result, and export a printable PDF chart for free — no account required.